


 中文
中文 한국어
한국어Ms.Lizzy
Hi, this is Lizzy from Dinosaw ( Not a Robot ). Which Machine ( model ) do you want? Please WhatsApp us now
Open Hours:8:30am-20:30pm
WhatsApp: +86 198-5901-3937
 Sep 3, 20255 MIN READ
 Sep 3, 20255 MIN READ
Master granite, marble & quartz polishing. Our guide provides specific grit sequences to avoid swirl marks & hazing. Get a flawless, factory-quality finish.
Choosing the right diamond polishing pads and correct grit sequence directly impacts your profitability and reputation. Wrong choices cost thousands in rework, while mastering this process ensures flawless finishes that command premium prices.
This guide provides proven grit sequences for granite, marble, and quartz, plus troubleshooting solutions for swirl marks and other common problems. Transform your polishing process from guesswork into a scientific method that consistently delivers superior results.
Inqury for a quote for Polishing Pads now
Polishing mistakes are expensive-a single burned quartz slab can wipe out an entire project's profit. With the global Stone Fabrication Equipment Market Size 2033 projected to reach $2.19 billion by 2033, fabricators who deliver consistent, flawless finishes will capture the most value.
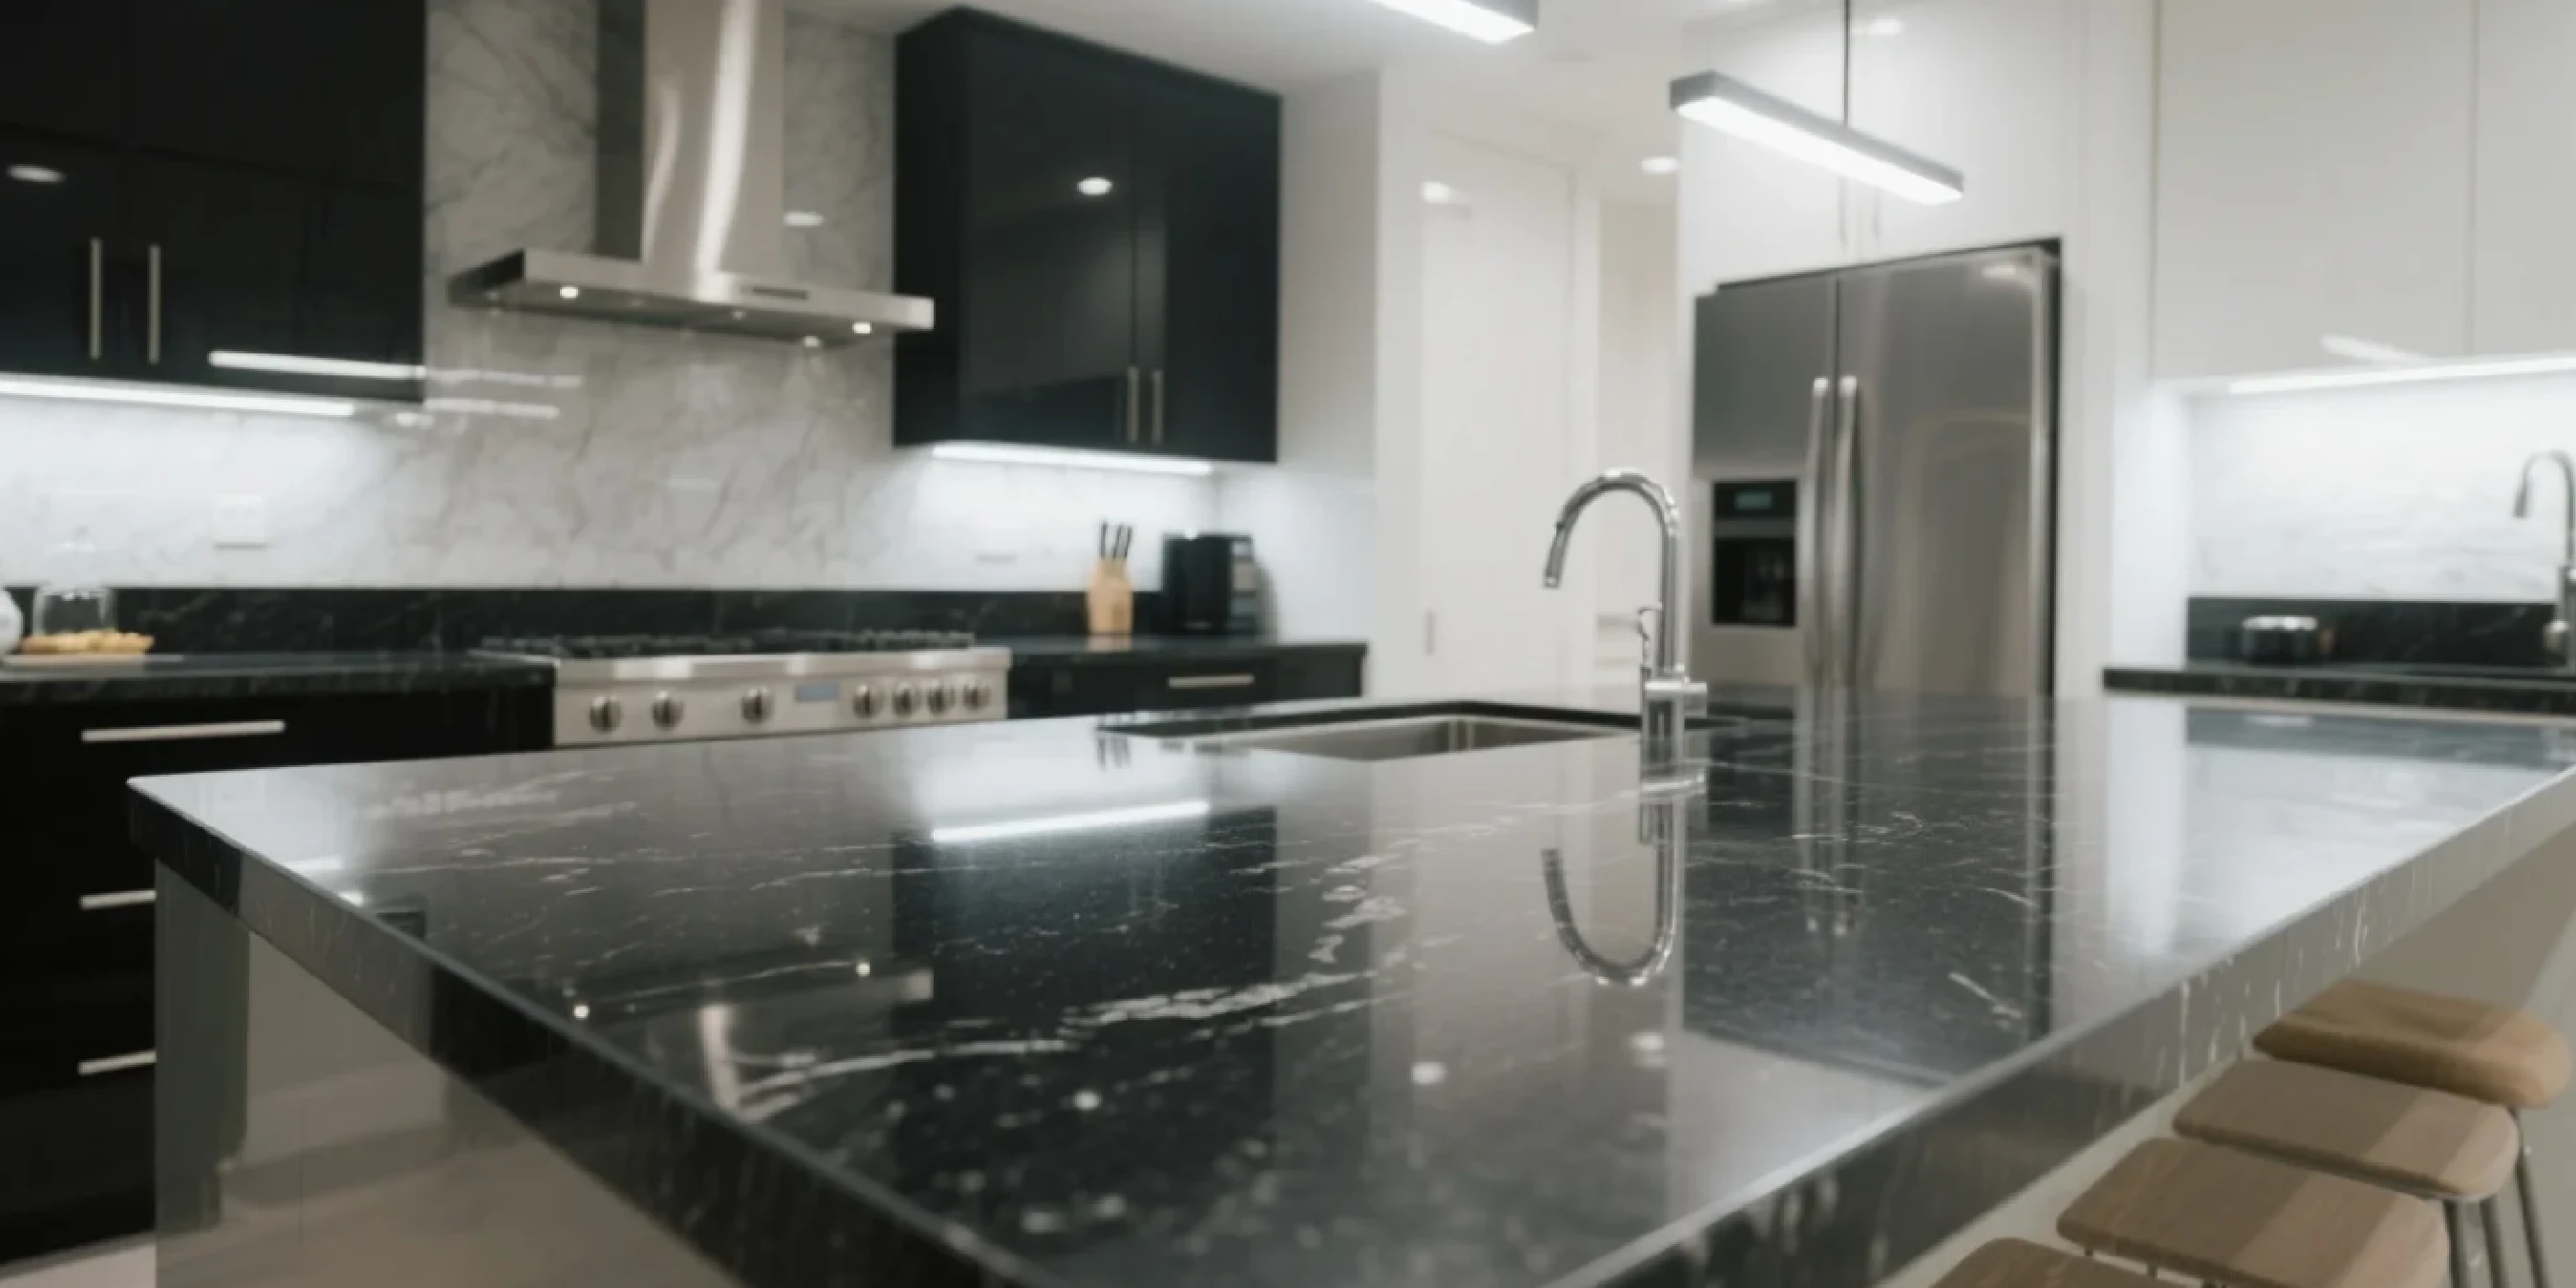
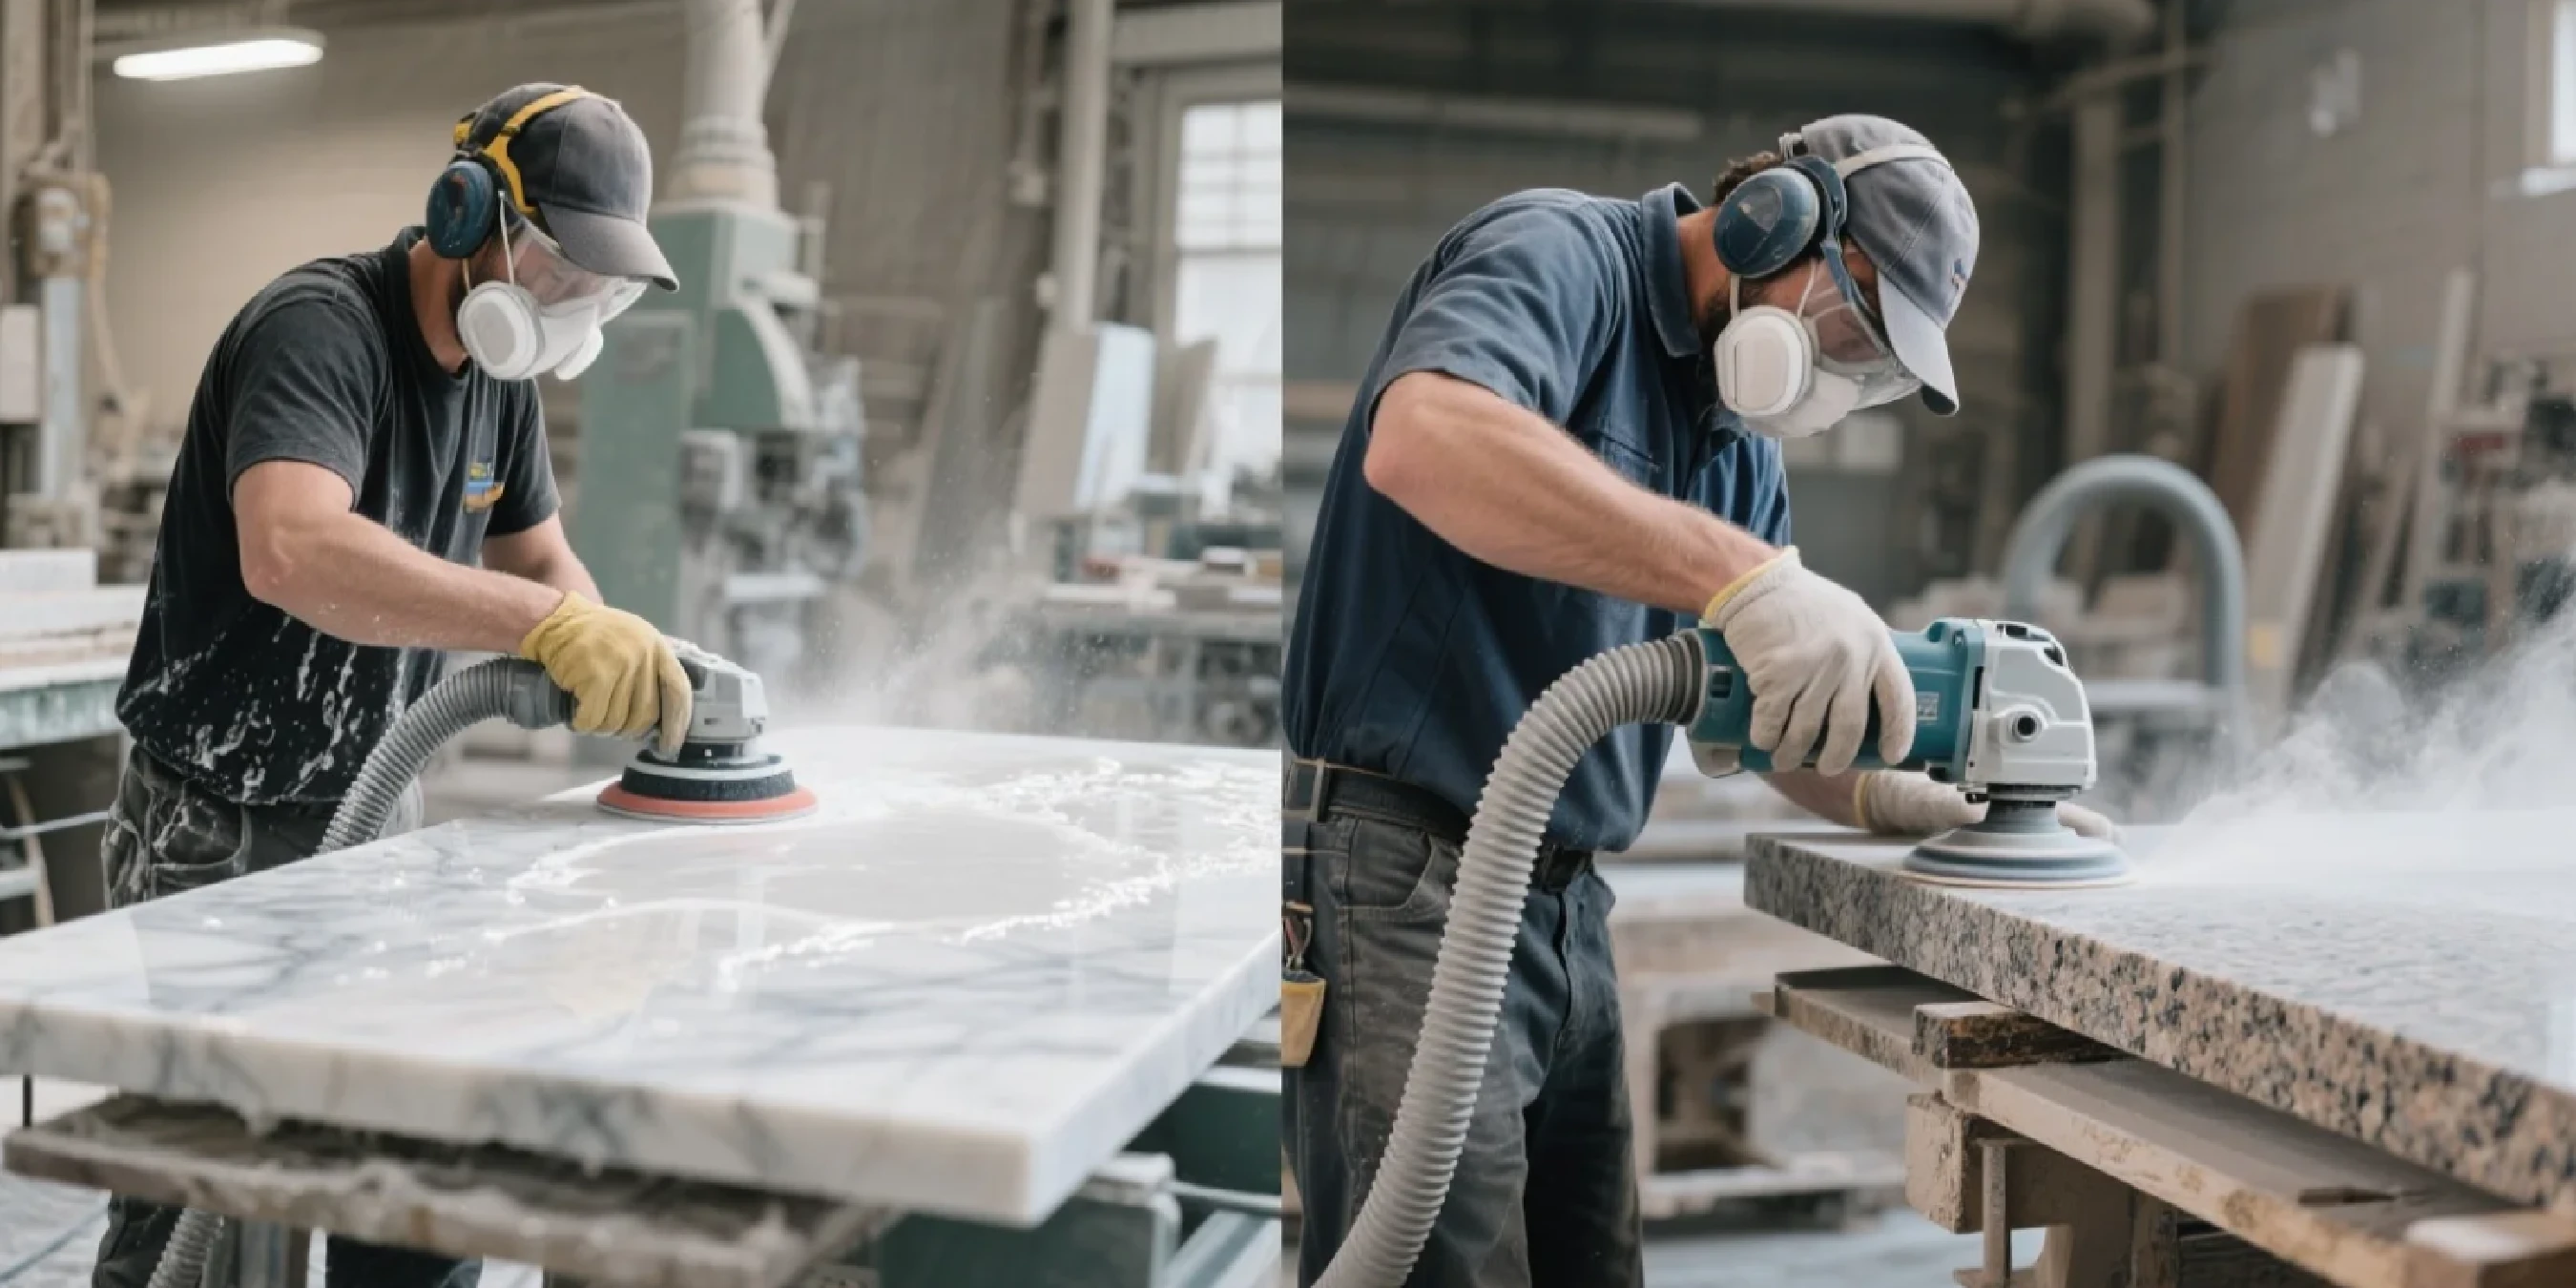
Achieving a mirror finish is controlled abrasion. You're methodically replacing larger scratches with progressively smaller ones until the surface becomes so smooth it reflects light perfectly. Your tools? Diamond polishing pads. Understanding their components is key to mastering the outcome.
Grit refers to diamond particle size embedded in the pad. The number corresponds to the mesh screen size used for sorting diamonds-lower numbers mean larger particles and more aggressive cutting.
The debate between wet and dry polishing depends on material, environment, and desired finish. While both have their place, wet polishing is the industry standard for achieving the highest quality finish.
| Feature | Wet Polishing | Dry Polishing |
|---|---|---|
| Finish Quality | Superior, higher gloss and clarity | Good, but harder to achieve deep, flawless shine |
| Pad Lifespan | Longer | Shorter due to higher heat and friction |
| Dust & Safety | Minimal dust; controls silica exposure | High dust creation; requires N95/P100 respirators and ventilation |
| Cooling | Excellent; water prevents overheating and burning | Relies on pad design and airflow; high risk of burning resin-based stones |
| Convenience | Requires water source and cleanup | More convenient for on-site jobs and quick touch-ups |
The "bond" is the matrix holding diamond particles in place.
This is where theory meets practice. Using the correct sequence of grits is non-negotiable. Never skip a grit step. Skipping grits (e.g., jumping from 200 to 800) leaves deep scratches that later grits can't remove, resulting in swirl marks and inconsistent finishes.
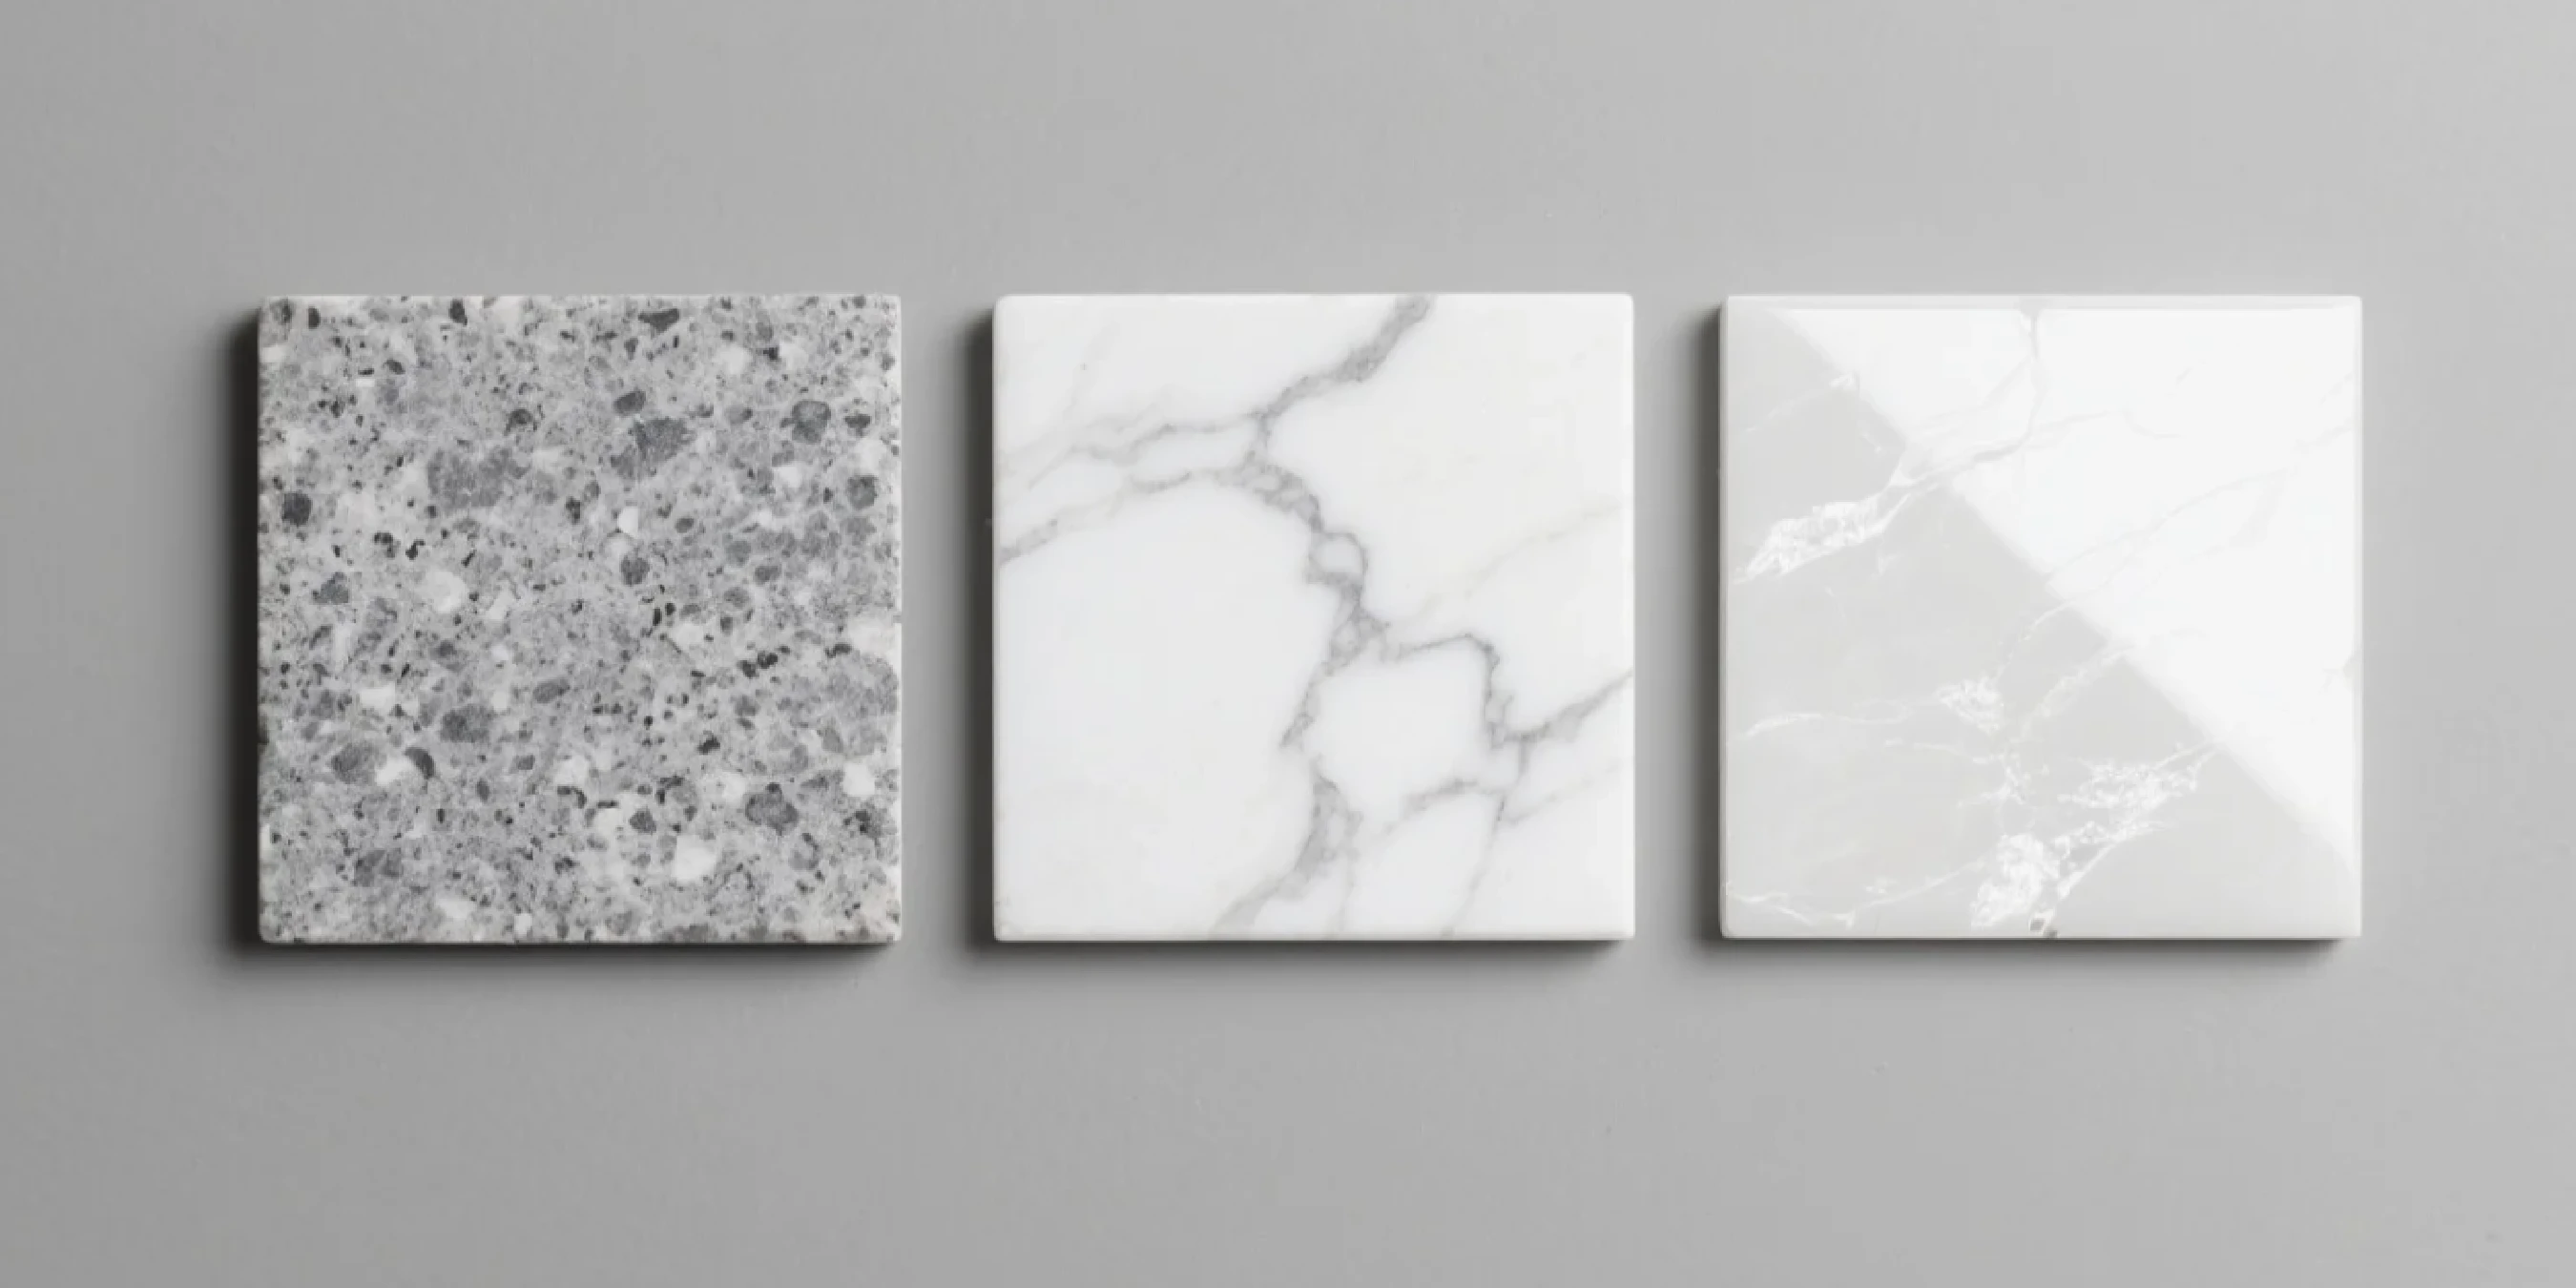
Granite is hard, crystalline igneous rock. Its hardness allows excellent polish, but requires a full grit sequence to achieve it. Read our complete guide on Industrial Granite Polishing Pads for Mass Slab Production for more details.
Marble is metamorphic rock composed primarily of calcite. It's much softer and more heat-sensitive than granite. Learn more about its properties in this guide on Countertop Geology - Great Lakes Granite & Marble.
Engineered quartz contains natural quartz crystals mixed with resins and pigments. The resin is the weak link-it's highly susceptible to burning from excessive heat, causing hazing and discoloration.
Need professional advice on your specific polishing challenge? Contact our experts on WhatsApp

Even with the right sequence, problems can arise. Here's your quick guide to diagnosing and fixing the most common issues. For more insights, review this article on How to Troubleshoot Inconsistent Polishing Results
| Problem | Likely Cause(s) | Solution(s) |
|---|---|---|
| Swirl Marks | 1. Skipping a grit step. 2. Uneven pressure on polisher. 3. Moving polisher too quickly. | 1. Go back two grit steps and re-polish the area properly. 2. Ensure pad is flat against surface. 3. Use slower, more methodical motion. |
| Hazing / White Spots (especially on Quartz) | 1. Overheating resin in stone. 2. Resin from pad transferring to slab. 3. Using incompatible polishing compound. | 1. Reduce RPMs and ensure adequate water flow. 2. Use high-quality, light-colored resin pads. 3. Use dedicated quartz polishing compound and buff pad. |
| Uneven or Dull Finish | 1. Worn-out polishing pads. 2. Not spending enough time on each grit step. 3. Insufficient water during wet polishing. | 1. Inspect and replace worn pads immediately. 2. Ensure all scratches from previous grit are gone before moving on. 3. Increase water flow to create consistent slurry. |
| Pads Burning or Glazing Over | 1. Excessive RPMs or pressure. 2. Insufficient water (wet polishing). 3. Using wet pad for dry polishing. | 1. Lower speed and let pad do the work. 2. Keep surface consistently wet. 3. Only use pads specifically marked for dry use without water. |
High-quality Diamond Polishing Pads are an investment. Proper care and technique will maximize their lifespan and lower your long-term costs.

The difference between an average finish and a stunning, mirror-perfect polish lies in systematic approach. By understanding different grit roles, respecting each stone's unique properties, and following proper sequences, you can eliminate guesswork and consistently produce exceptional results.
This method not only enhances work quality but also directly reduces material waste and labor costs.
Investing in a complete set of high-quality pads from a trusted supplier is your first step. When combined with the technical knowledge in this guide, it becomes a powerful system for improving your factory's output and profitability. For deeper understanding of the entire process, consider reading our comprehensive guide on How to Get Mirror-Perfect Stone Finishes .
Ready to upgrade your polishing system and reduce costs? Contact Dinosaw on WhatsApp
The best starting sequence for most fabricators is the 7-step wet polishing process: 50, 100, 200, 400, 800, 1500, and 3000 grit. This comprehensive sequence works reliably on most granite types and can be adapted for softer stones like marble by starting at 100 or 200 grit step. It ensures all scratches are properly removed at each stage-the most common reason beginners fail to achieve good polish.
Pads wear out quickly primarily due to excessive heat and pressure. This often happens from using too high RPM settings (over 4,000 RPM), pushing down too hard, or using insufficient water during wet polishing. According to industry best practices, you should let the machine's weight and diamonds do the work. Also, ensure you're using high-quality pads like Dinosaw's professional series, which are engineered with durable bonds to maximize lifespan.
While you can, it's not recommended. Quartz contains heat-sensitive resins that easily burn or discolor when overheated-a common issue with standard granite pads. It's best to use pads specifically designed for engineered stone, which often feature white or light-colored resin to prevent color transfer and are formulated to work effectively at lower, cooler temperatures.
Swirl marks almost always result from skipping a grit step or not fully removing scratches from the previous step. For example, jumping from 200 grit to 800 grit leaves behind 200-grit scratches that 800-grit pads can't remove. To prevent them, be methodical: ensure the surface has uniform finish at each stage before moving to the next higher grit. Also, maintain even pressure and keep the polisher flat against stone.
A 3-step system (using pads labeled Step 1, 2, 3) is designed for speed and convenience-ideal for lighter-colored granites, on-site touch-ups, or chamfered edges. But for the highest quality mirror finish, especially on dark granites, marble, and engineered quartz, a full 7-step system is the professional standard. The Natural Stone Institute defines polished finish by its high gloss and reflection, which is most consistently achieved with full, progressive grit sequences.
Investing in premium pads is more cost-effective long-term. While cheap pads have lower initial costs, they wear out much faster, leading to more frequent replacements. More importantly, they perform inconsistently and have higher risk of damaging stone, which can lead to costly rework or even slab replacement. High-quality pads provide better finishes in less time and have lower cost per square foot when you factor in their extended lifespan.
A grinding disc, typically a metal-bond cup wheel or disc, is used for aggressive stock removal, shaping, and leveling (coarse grits like 30-100). Its purpose is stone preparation. A polishing pad is a flexible, resin-bonded pad used for subsequent honing and polishing steps (grits from 200 to 3000+) to create smooth, reflective surfaces. You always grind before you polish. Dinosaw offers a full range of both grinding discs and polishing pads to cover the entire surface finishing process.
 English
Get A Easy Solution
Chat Online
Hi, this is Lizzy from Dinosaw ( Not a Robot ). Which Machine ( model ) do you want? Please WhatsApp us now
Hello 👋 How can we help?