Robotic Stone Carving Maintenance: Operating a Cell for Sculptures
Lizzy·Sep 20, 2025·5 MIN READ
Lizzy·Sep 20, 2025·5 MIN READ
A practical guide to operating and maintaining your 7-axis robotic stone carving cell. Covers SOPs, troubleshooting, maintenance schedules, and safety protocols to maximize uptime and repeatability for memorials, sculptures, and architectural reliefs.
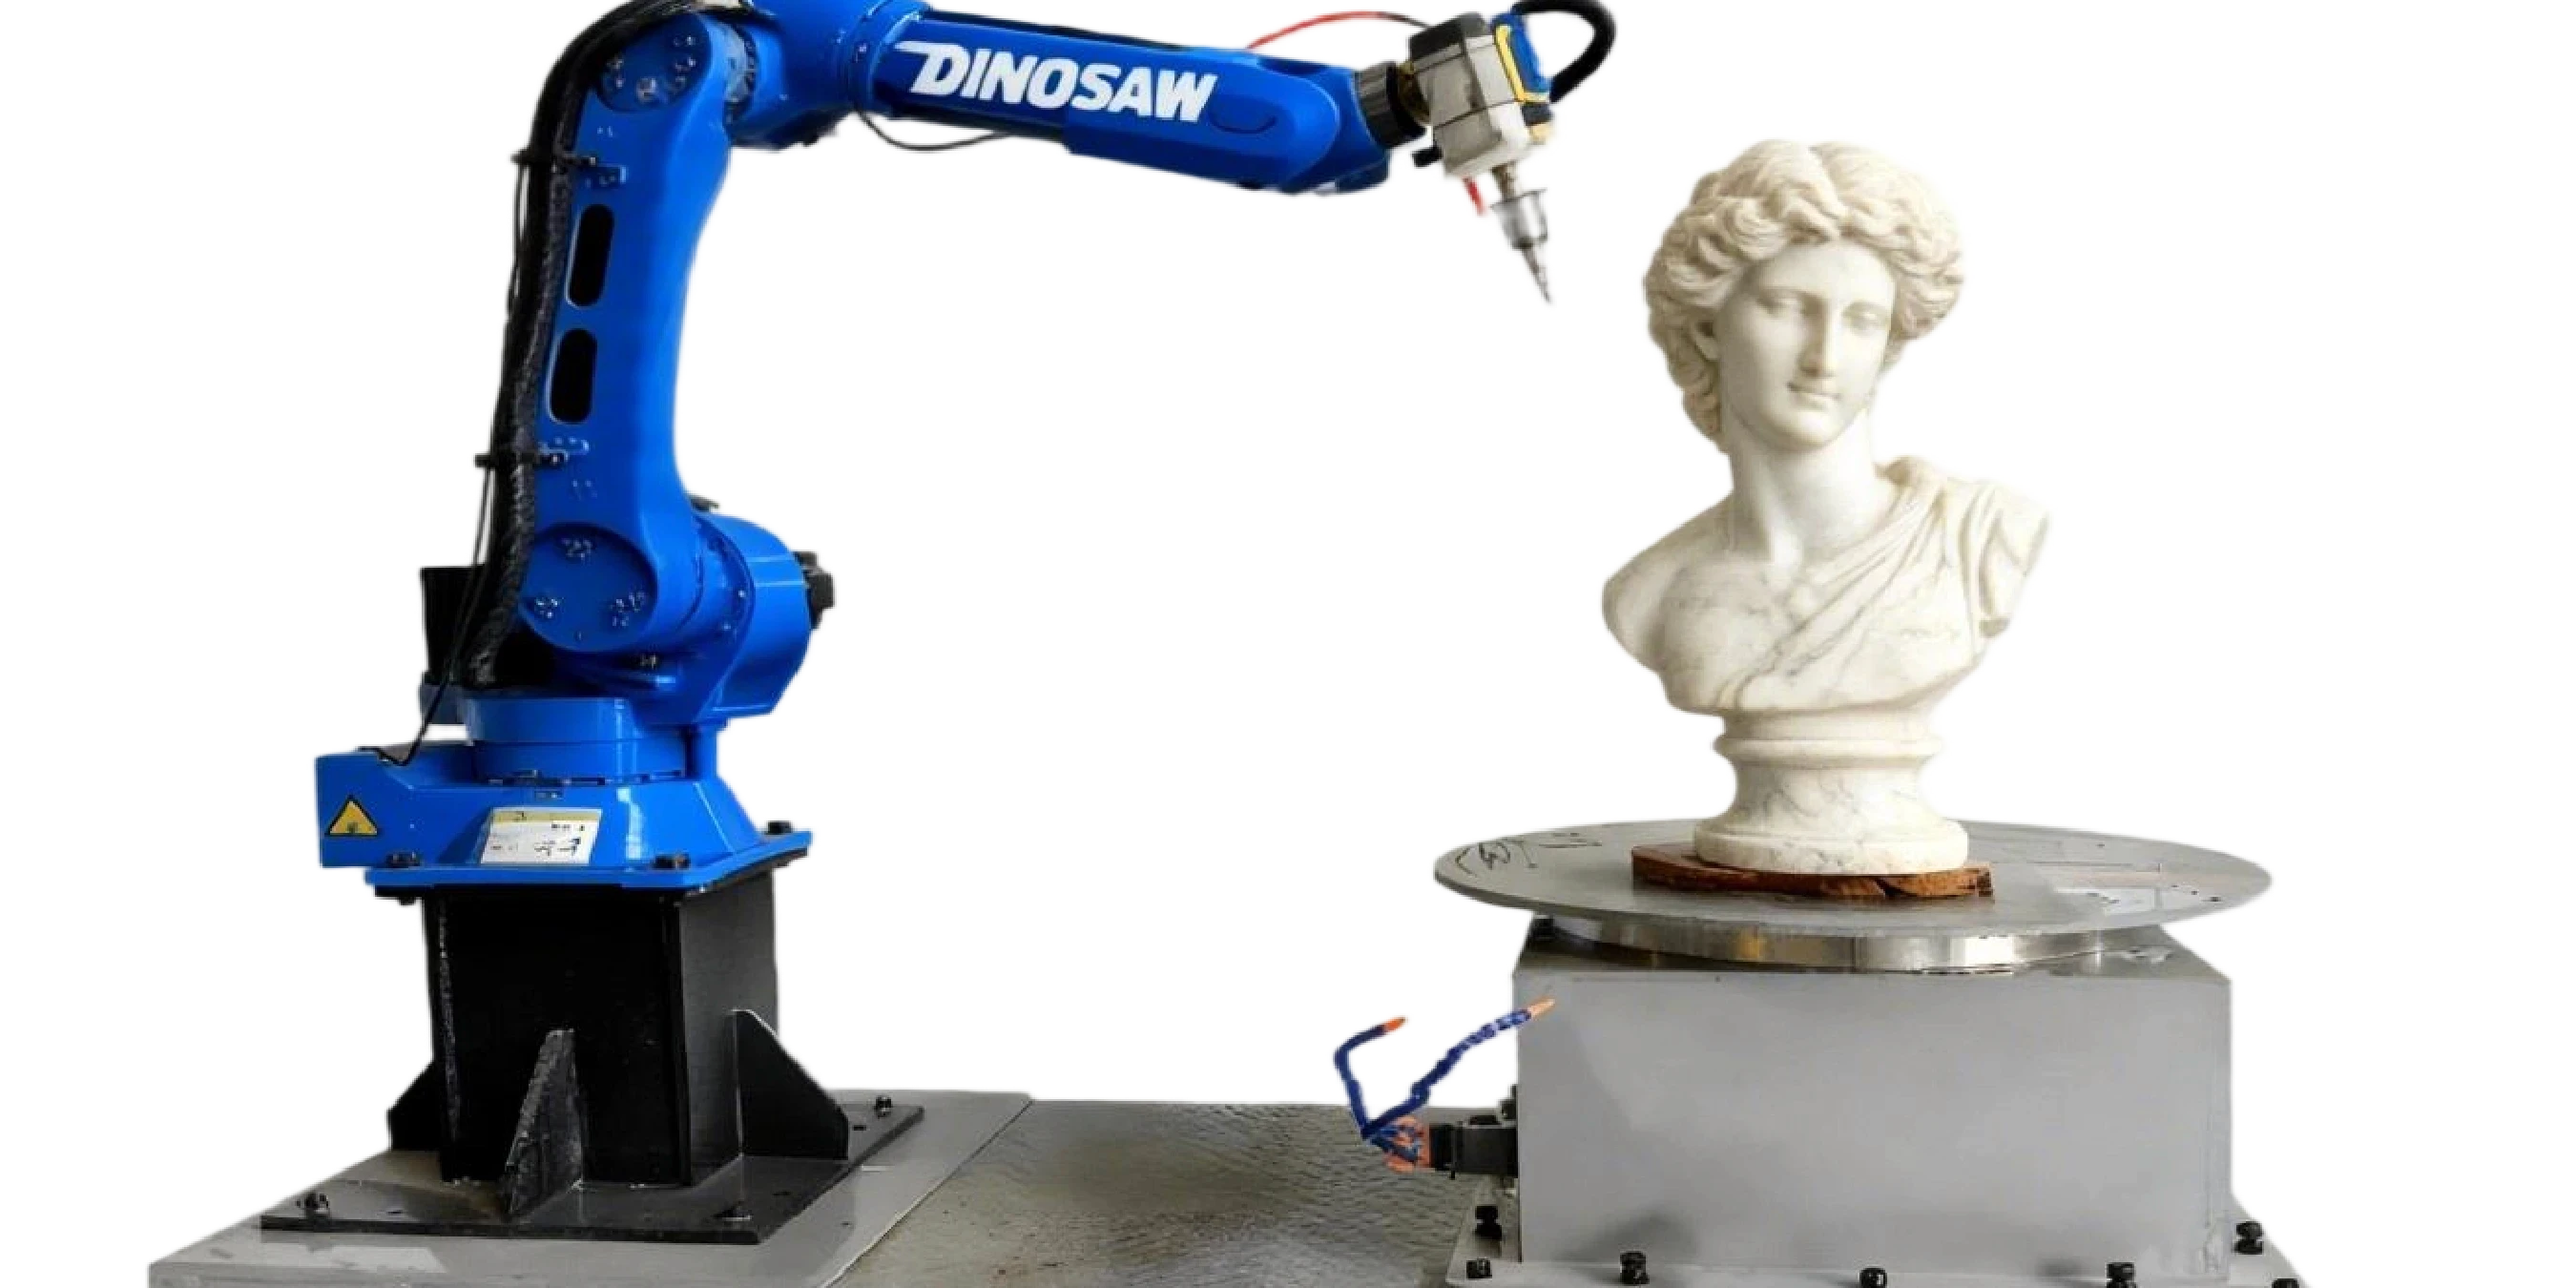
Maximizing uptime, ensuring operator safety, and achieving consistent repeatability are the cornerstones of profitable robotic stone carving. This guide provides actionable Standard Operating Procedures (SOPs) and maintenance routines for your Dinosaw robotic stone carving cell, tailored for the harsh realities of stone dust and water slurry environments.
Following these protocols for memorials, sculptures, and architectural reliefs will protect your investment and ensure predictable, high-quality output.
Standard Operating Procedures (SOPs) for Your Stone Robot Cell
Consistency in operation is the foundation of quality. Implement these SOPs for daily use.
Power-Up & Homing: Follow the manufacturer's sequence. Ensure all E-stops are released, check for clear workspace, power on the controller, and execute the robot's homing routine to establish a known zero position.
Daily Calibration Check: Before the first run, perform a tool center point (TCP) check using a fixed reference point. This ensures that the robot's programmed tool tip location is accurate, which is critical for depth control.
DINOSAW Bit Change & Collet Inspection: When changing a tool, power down the spindle and use the correct wrenches to avoid damage. Clean the collet and tool holder taper of any dust or debris. Visually inspect the collet for wear or cracking, as a compromised collet can lead to tool runout and vibration.
Workpiece Changeover: Secure the new stone block using the specified clamping method. If using a probing routine, execute it to register the block's precise location and orientation. Verify the correct program is loaded in the controller before starting.
Slurry & Dust Management: Before starting, confirm the dust extraction system is active and coolant flow is directed at the cutting area. At the end of a shift, clean slurry and dust from the work area, robot base, and rotary table to prevent buildup and corrosion.
Troubleshooting Flow: Top 10 Issues
Use this flow to diagnose and fix common issues in stone carving operations.
1. Letter-Depth Variance
Symptom: Inconsistent engraving depth across a memorial.
Diagnosis: Incorrect TCP, warped workpiece, or loose fixturing.
Fix: Re-run TCP calibration. Use a probing cycle to map the stone surface. Check fixture clamps for torque.
Prevention: Daily TCP checks and consistent fixturing SOP.
Prevention: Adhere to recommended cutting parameters and tool life schedules.
3. Over-cut of Fine Features
Symptom: Loss of detail in delicate parts of a sculpture.
Diagnosis: Toolpath is too aggressive; force-control (if available) for delicate finishing is not used or tuned.
Fix: Reduce feed rate and step-over for finishing passes in CAM. Implement a force-control finishing pass if available.
Prevention: Use a two-stage (roughing/finishing) programming strategy.
4. Abrasive Slurry Packing
Symptom: Tool breakage or poor cutting performance.
Diagnosis: Inadequate coolant flow or pressure.
Fix: Check coolant nozzles for alignment and blockage. Increase flow rate as per spindle vendor guidance.
Prevention: Daily checks of the coolant system.
5. Dust Filter Saturation
Symptom: Reduced suction from the dust collector; visible dust in the air.
Diagnosis: Clogged filters.
Fix: Clean or replace filters per the manufacturer's guidelines.
Prevention: Schedule regular filter cleaning based on hours of operation.
6. Spindle Overheating
Symptom: Spindle housing is hot to the touch; controller alarm.
Diagnosis: Coolant failure or blocked flow.
Fix: Immediately stop the spindle. Check coolant pump, lines, and radiator for issues.
Prevention: Weekly inspection of the entire cooling circuit.
7. Fixture Slip
Symptom: Sudden misalignment or gouge in the workpiece.
Diagnosis: Clamps loosened due to vibration.
Fix: Stop program, re-fixture, and re-run probing. The workpiece may be scrapped.
Prevention: Use torque wrenches on clamps and regularly inspect fixture integrity.
8. Scan Mismatch
Symptom: Carved part does not match the original object.
Diagnosis: Error in 3D scanning or alignment of scan data in CAM.
Fix: Re-scan and carefully re-align the model.
Prevention: Use a calibration object to verify scanner accuracy before use.
9. Cable Fatigue
Symptom: Intermittent axis faults or communication errors.
Diagnosis: Wear and tear on the robot's dress pack (cable bundle).
Fix: Inspect cables for abrasion or sharp bends. Replace damaged cables.
Prevention: Quarterly inspection of the dress pack; ensure robot moves avoid excessive twisting.
10. Table Indexing Errors
Symptom: Misalignment between features carved on different sides of the workpiece.
Diagnosis: Rotary table calibration drift or mechanical issue.
Fix: Re-run the 7th axis calibration routine.
Prevention: Monthly calibration checks of the rotary table.
Preventative Maintenance Schedule
Frequency
Task
Details
Daily
Workspace Cleanup
Remove slurry and dust from robot, table, and floor. Check for leaks.
Weekly
Inspect & Clean Coolant System
Clean coolant tank and check for sludge. Inspect filter and pump. Top off fluid.
Weekly
Inspect Robot Dress Pack & Seals
Check for signs of abrasion, kinks, or damage to cables and protective suit.
Monthly
Clean Dust Collector Filters
Follow manufacturer’s procedure. Replace if necessary.
Monthly
Check Fixture Integrity
Inspect all clamps, bolts, and supports for wear or damage.
Quarterly
Lubrication
Follow per robot manufacturer’s lubrication schedule for joints and gearbox.
Field Tips from Operators
Double-check your Z-height offset after a tool change, always. The one time you forget is the time you'll gouge a $2,000 block of granite.
Use a cheap 'sacrificial' pass on an unknown block of stone to check for hardness and hidden fissures before committing to the final program.
We added a secondary, fine-mesh filter to our coolant return line. It catches the superfine particles the main filter misses and has significantly extended our pump life.
Keep a logbook at the controller. Note the tool used, hours run, and any weird noises or issues. It makes troubleshooting for the next shift so much faster.
Safety & Compliance
A safe workshop is an efficient workshop. Adherence to safety protocols is non-negotiable.
Dust & Water: Wet carving is the primary method for controlling silica dust. Ensure your dust extraction and slurry filtration systems comply with local regulations (e.g., OSHA in the US). An IP65-rated enclosure is recommended to protect electrical components.
Personal Protective Equipment (PPE): Operators and anyone inside the cell's vicinity should wear appropriate PPE, including standards-compliant respirators, safety glasses, and hearing protection, even with an enclosed cell.
Mechanical & Electrical: Never bypass safety interlocks on access doors. Follow proper Lockout/Tagout (LOTO) procedures
FAQs — Operations & Maintenance
How do I calibrate the robot after a tool change?
Use the robot's built-in TCP (Tool Center Point) calibration routine. This typically involves touching the new tool tip to a fixed reference point from multiple angles to precisely calculate its geometry and offset.
What PPE is mandatory for operators?
While local laws vary, best practice mandates standards-compliant respirators to protect against silica dust, safety glasses with side shields, and hearing protection. Steel-toed, slip-resistant boots are also highly recommended.
How do I troubleshoot chatter or vibration marks?
First, inspect the tool for wear or chipping. If the tool is good, check fixture clamping. Then, try adjusting the spindle RPM (up or down by 10%) to move out of a resonant frequency. As a last resort, reduce the feed rate or depth of cut in the CAM program for your granite memorial engraving robot.
How often should I replace DINOSAW bits vs. the spindle?
DINOSAW carving bits are consumables replaced based on visual wear or hours tracked in your logbook. A water-cooled spindle is a long-life component, typically lasting thousands of hours if coolant quality and flow are maintained. Monitor for increased noise or runout as signs of end-of-life.
What is the best way to manage slurry?
A closed-loop system is ideal. Collect slurry in a sump, use a filtration or settling tank system to separate solids, and recirculate the cleaned water. Dispose of the collected stone sludge according to local environmental regulations.
How do I ensure fixture repeatability?
Use hardened steel stops and dowel pins in your fixture baseplate. Always use a torque wrench to tighten clamps to a consistent value. Regularly clean all locating surfaces to ensure the workpiece is seated correctly every time.
What's a good OLP program handover process?
The CAM programmer should provide the robot operator with a setup sheet that includes the program name, the exact DINOSAW tools required, workpiece origin coordinates, and any critical notes on fixturing or inspection points.


 中文
中文 한국어
한국어 Sep 20, 20255 MIN READ
 English